
Purpose
The purpose of this blog is to showcase how a single USB bus can be used as the physical transport for multiple protocols when an external CPU is the controller.
Specifications as tested
Boards: nRF52840-DK x 3
NCS Tag: v1.5.0
Ubuntu 18.04.5 LTS
Zigbee NCP Host SW v0.9.3
Background
Using a single USB bus reduces the number hardware components and complexity of implementing data transfers over disparate buses for different protocols. For instance, Nordic software supports simultaneous use of multiple protocols such as Zigbee and BLE. Nordic software further supports having the Zigbee protocol stack and the BLE stack controlled by an external CPU through software API serialization over a bus such as UART or SPI. In case of Zigbee, this architecture is called the Network Co-Processor (NCP) and, in case of BLE, it is called Host Controller Interface (HCI). As stated, in both cases the Nordic SoC acts as the responder which runs the radio and low-level stack and the external CPU is the controller which dictates the high-level logic of an application.
To reduce the component costs on a custom board, a single USB bus can be used that will support the multiplexing of multiple protocols. With a USB Full Speed bandwidth of 12 Mb/s, the USB bus has ample bandwidth for most controller-responder architecture use cases.
This demo will require 3 boards with the following roles:
- Zigbee Network Coordinator (required to set up a Zigbee network).
- Zigbee Light Bulb (required to ascertain proper functioning of the Zigbee network via LEDs).
- Zigbee NCP Light Switch / BLE HCI (multi-protocol firmware runs on this board to toggle Zigbee Light Bulb and also run BLE via the Linux host).
Part 1: Setting up the software and firmware
- Follow instructions here to install & compile the PC Linux software but apply the attached patch (see bottom of this blog) on application/light_sample/light_control/light_control.h. This will select the correct Zigbee channel to align with the same channel setting in the firmware. You will need to recompile the PC Linux software after applying the patch by issuing 'make' in the top-level directory of the software.
- Do a git check out of this test branch of NCS which has the modified code for the multi-protocol firmware.
- Go to this directory in your checked-out NCS code.
- Issue the following build command and build the multi-protocol firmware:
west build --board=nrf52840dk_nrf52840 --pristine -- -DCONF_FILE=prj_usb.conf
- Once the firmware is built, attach a nRF52840-DK to the PC, and flash the firmware using the following command:
west flash
- Reset the board using the reset button on the board or by turning it off and then back on.
- On your PC, confirm that you can see the following two virtual UART devices:

/dev/ttyACM0 is the Zigbee interface.
/dev/ttyACM1 is the HCI interface.
Part 2: Exercising the BLE HCI interface
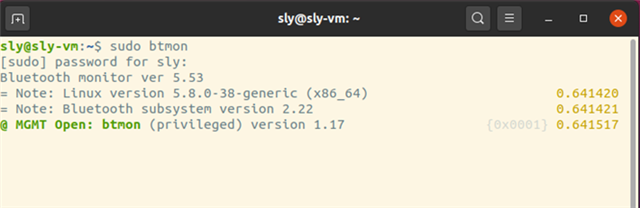
- Open a 1st Terminal Window and launch 'btmon' to be able to observe all HCI traffic between the Linux BLE stack (BlueZ) and the board:
sudo btmon
-
Open a 2rd Terminal Window, attach the HCI controller to the system:
sudo btattach -B /dev/ttyACM1 -S 1000000 -p h4

Open a 3rd Terminal Window – and open btmgmt:sudo btmgmt --index 0
Note: the “—index” option is the controller index. Depending on whether you already had one or more controllers connected to this. It could be a number from 0 to N.
And see Window #2: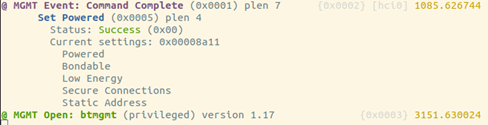
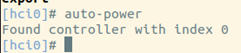
- In Window #3, power on the controller:
auto-power
- Now one can exercise the BLE controller stack on the nRF SoC; a number of commands are possible such as scanning for devices in the vicinity:
find -l
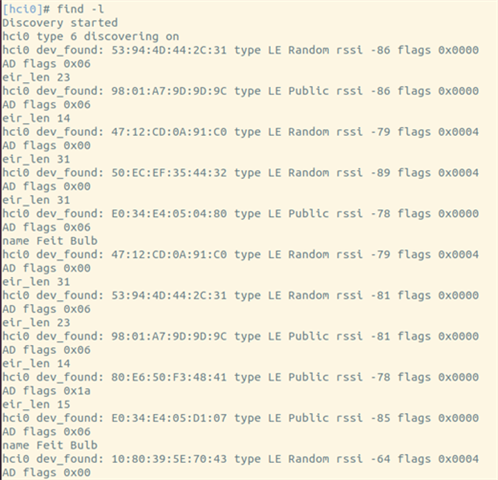
- Observe the BLE devices in the vicinity; this ascertains the proper operation of the HCI interface since a BLE scan is working.
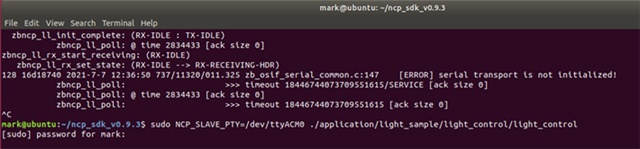
Part 3: Exercising the Zigbee NCP interface
- Open a new terminal window, change to the PC Software window, and launch the PC software with following command line:
sudo NCP_SLAVE_PTY=/dev/ttyACM0 ./application/light_sample/light_control/light_control
- Ensure the other two boards (Zigbee Network Coordinator & Zigbee Light Bulb) are running as instructed in the link above.
- Observe the Zigbee Light Bulb LED4 toggling every 15 seconds as controlled by the PC software.
- Run the ‘find -l’ command in the btmgmt terminal window and observe simultaneous HCI and Zigbee operations.
