

Table of Contents
Overview
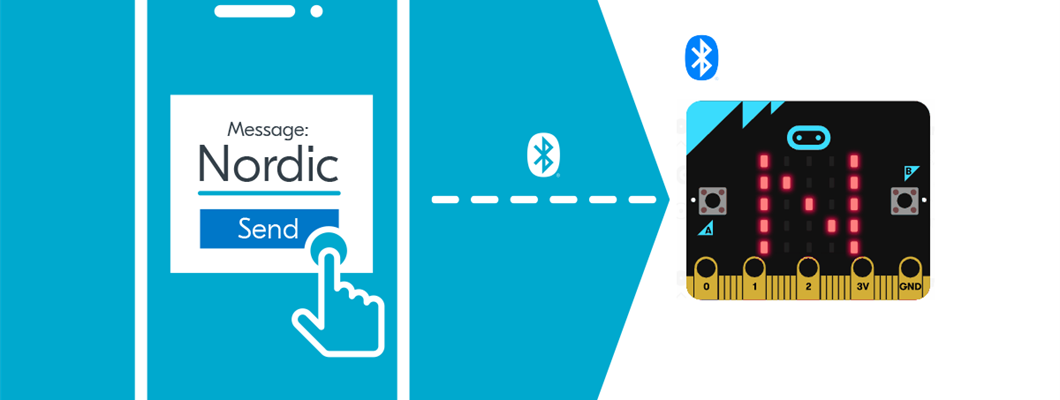
In this blog post, we will show you how to build a pager with a micro:bit v2 and nRF Connect SDK.
The one-way Bluetooth Low Energy (Bluetooth LE) pager allows you to send text messages to the 5x5 LED matrix on the micro:bit v2 using your smartphone or tablet (Android or iOS device). The pager application utilizes the Nordic UART Service (NUS) sample available in nRF Connect SDK to receive messages through Bluetooth LE and then forward them to the 5x5 LED matrix on the micro:bit v2.
micro:bit v2 support is included in the nRF Connect SDK since version 1.9.0. Writing application in C using nRF Connect SDK gives you the highest level of control over the micro:bit v2 in terms of functionality and power consumption. In addition to that, it also gives you access to an abundance of rich samples and applications that you can easily tailor to match your design needs and flash onto this cool board.
The micro:bit v2 is based on our nRF52833 SoC which is a multiprotocol Bluetooth 5.3 SoC supporting Bluetooth Low Energy, Bluetooth mesh, NFC, Thread, Zigbee, and 2.4 GHz Proprietary.
Hardware requirements
- micro:bit v2
- Smartphone or a tablet (Android or iOS)
- Micro USB cable
- Computer (Windows, macOS, Linux)
How to use
1. You need to first flash your micro:bit v2 with the nRF Connect SDK application. In order to do that, you need to first download the hex file of the application on your local drive from here:1754.pager_v0_2.hex
2. Connect your micro:bit v2 to your computer through a micro USB cable. The micro:bit v2 should appear as a connected device.
3. To flash, simply drag and drop the hex file into the micro:bit v2 as shown in the illustration below:
Wait until the flashing is complete.
Note: The illustration above is for a Windows computer. On a macOS machine, the micro:bit v2 will appear under devices. On a Linux machine, the micro:bit v2 is usually mounted as a drive in the /media directory.
4. To use the pager, you need to install nRF Connect for Mobile on your Android or iOS device. Once installed:
4.1 Open nRF Connect for Mobile.
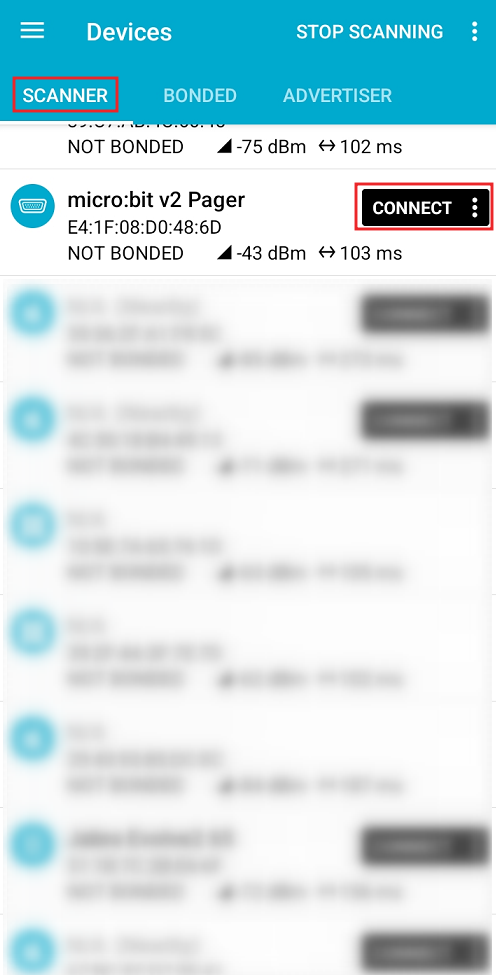
4.2 Scan for devices.
4.3. Connect to micro:bit v2 Pager.
4.4 Expand Nordic UART Service as shown in the illustration:
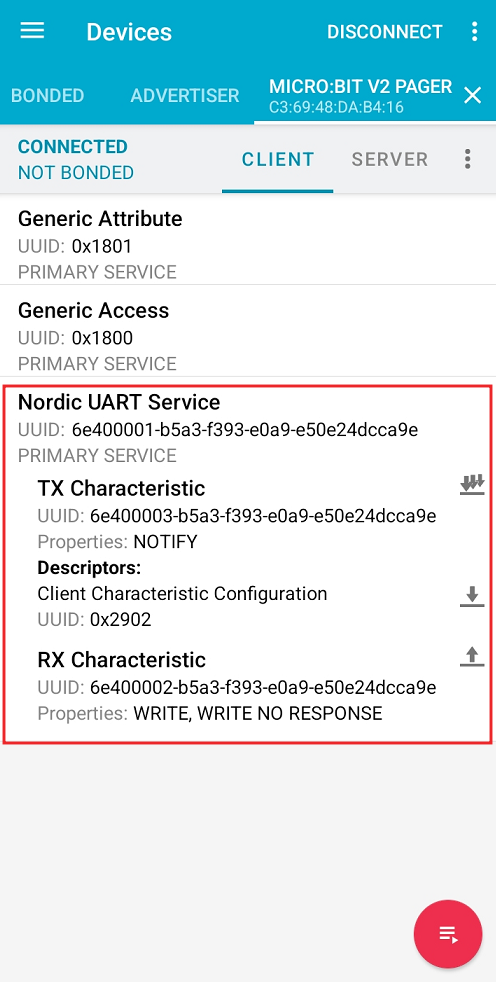
4.5 Click on the little arrow ![]() next to the Rx Characteristic. This will open a box where you can type your message and click SEND as shown in the illustration:
next to the Rx Characteristic. This will open a box where you can type your message and click SEND as shown in the illustration:

On the miro:bit v2, you will first hear a beep for 1.5 seconds followed by your message displayed on the micro:bit v2 5x5 LED matrix.
Note that you could re-display the recently received message (if one exists) by pressing button B on the micro:bit v2. Pressing button A deletes the recently received message.
Go beyond the default functionality
Do you want to tweak the pager and go beyond the default functionality? The source code for the pager application is available on GitHub. You could easily out-of-the-box configure aspects like disabling the speaker, controlling the frequency/duration of the beep, or the speed of displaying each character on the 5x5 matrix. In addition to that, you could add your own custom code. For example, you could reconfigure the buttons to do something else or utilize the other hardware available on the micro:bit v2 such as the microphone, motion sensor, temperature sensor, or edge connector.
In this paragraph, we will focus on showing you how to import the source code, build, and flash it to your micro:bit v2. You will need the following software/tools:
- nRF Connect SDK (v1.9 or above)
- Visual Studio Code (VS Code)
- nRF Connect for VS Code
- nRF Connect for Mobile
1. Download and install nRF Connect SDK (v 1.9 or above), Visual Studio Code, and nRF Connect for VS Code (If you don’t have them already) on your computer. If you don’t have these software/tools installed on your computer, you could follow the simple instructions in this short video.
2. Download the source code from GitHub and extract it somewhere on your local disk (Preferably as close as possible to the root drive).
3. Open Visual Studio Code.
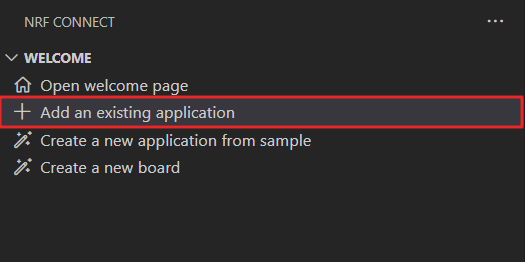
4. In nRF Connect for VS Code welcome panel, click on Add an existing application.
5. Browse to the directory where you have extracted the application, select the root directory of the application, and then press Select Folder.
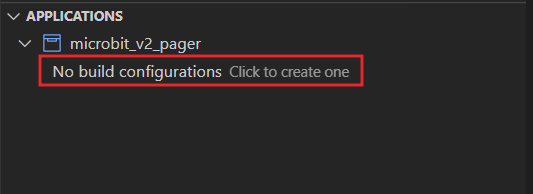
6. In the details panel, click below the application name to add a build configuration.
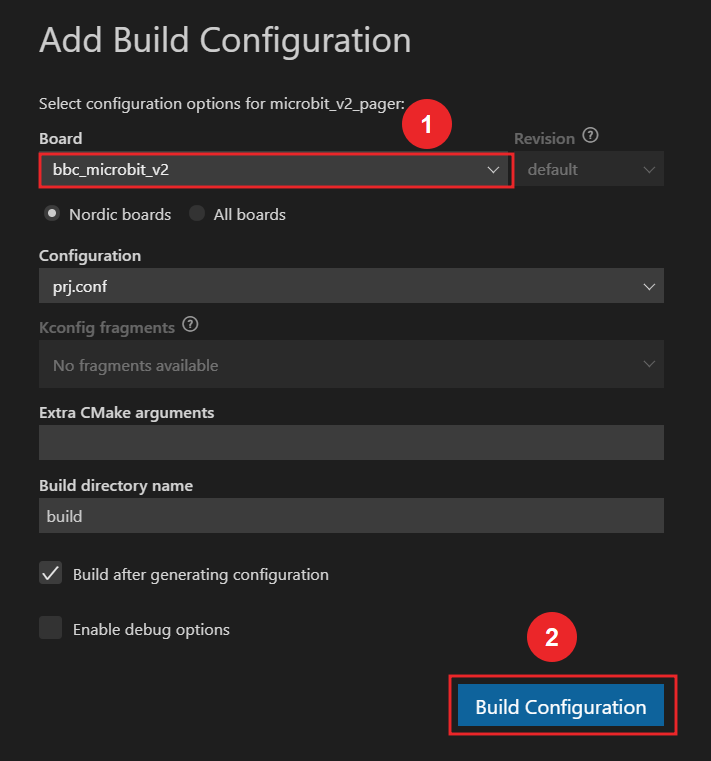
7. In the Add Build Configuration window, select the bbc_microbit_v2 as a board, leave all other options as is, then click on the Build Configuration button. This will build the code and generate the hex file that we will flash onto the board.
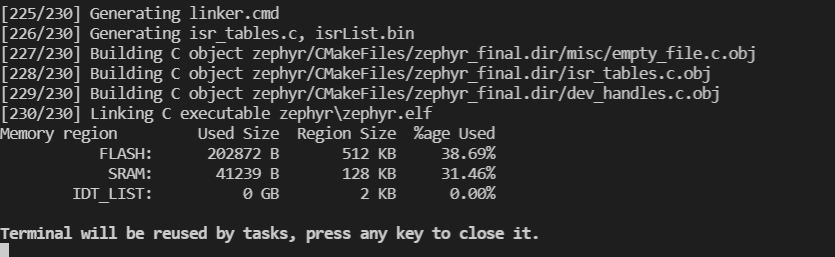
8. To confirm that the source code is compiled successfully, open the terminal (View-> Terminal), and you should see an output similar to the one below.
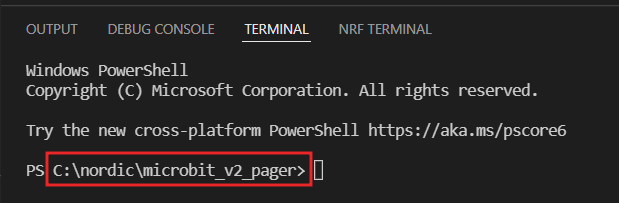
9. To flash the application to the board, first make sure that your micro:bit v2 is connected to your computer through a micro USB cable. Then, either drag the generated hex file from <Application Directory>/build/zephyr/zephyr.hex and drop it into the micro:bit v2 device as we have done earlier. Or you could do it from the command line. To do that, open an nRF Connect Terminal as shown in the illustration below.

Make sure that you are in the application root directory.
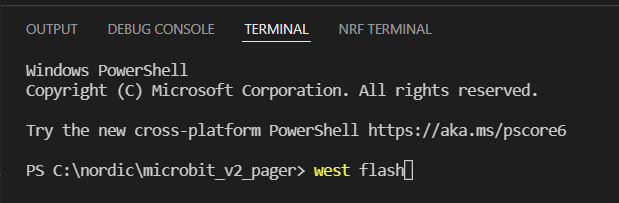
Type west flash
On a successful flash, you should see an output similar to this:
[====================] 100%
0013642:INFO:loader:Erased 204800 bytes (50 sectors), programmed 204800 bytes (50 pages), skipped 0 bytes (0 pages) at 16.97 kB/s
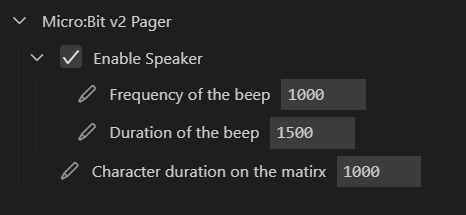
10. Now you know how to build the application for the source code and flash it onto the board. Explore the available out-of-the-box configurations in the application configuration file prj.conf or by using the graphical user interface of Kconfig. Click on the Kconfig icon in the Actions panel, This will open the user interface which can allow you to configure, without directly modifying the C code, aspects like the device name, the speaker, controlling the frequency/duration of the beep, or the speed of displaying each character on the 5x5 matrix.
It's worth noting that the screenshots in this blog post are for the software/tools versions shown in the table below. If you are using a newer version of the software/tools, the user interface may be different.
| Software/Tool | Version |
| nRF Connect SDK | 1.9.1 |
| Visual Studio Code | 1.64.2 |
| nRF Connect for VS Code |
v2022.3.104 |
| nRF Connect for Mobile (Android) | 4.25.3 |
Read more
- Interested in learning firmware development using our highly extensible and features-rich nRF Connect SDK? Check out our free, self-paced, hands-on online nRF Connect SDK Fundamentals course.
- Do you want to learn more about the micro:bit v2? Check out this webinar on our YouTube channel.
Hit the like button if you like this content and want to see more of it. Have you done a cool project on micro:bit v2 using nRF Connect SDK? Share it in the comments below.

