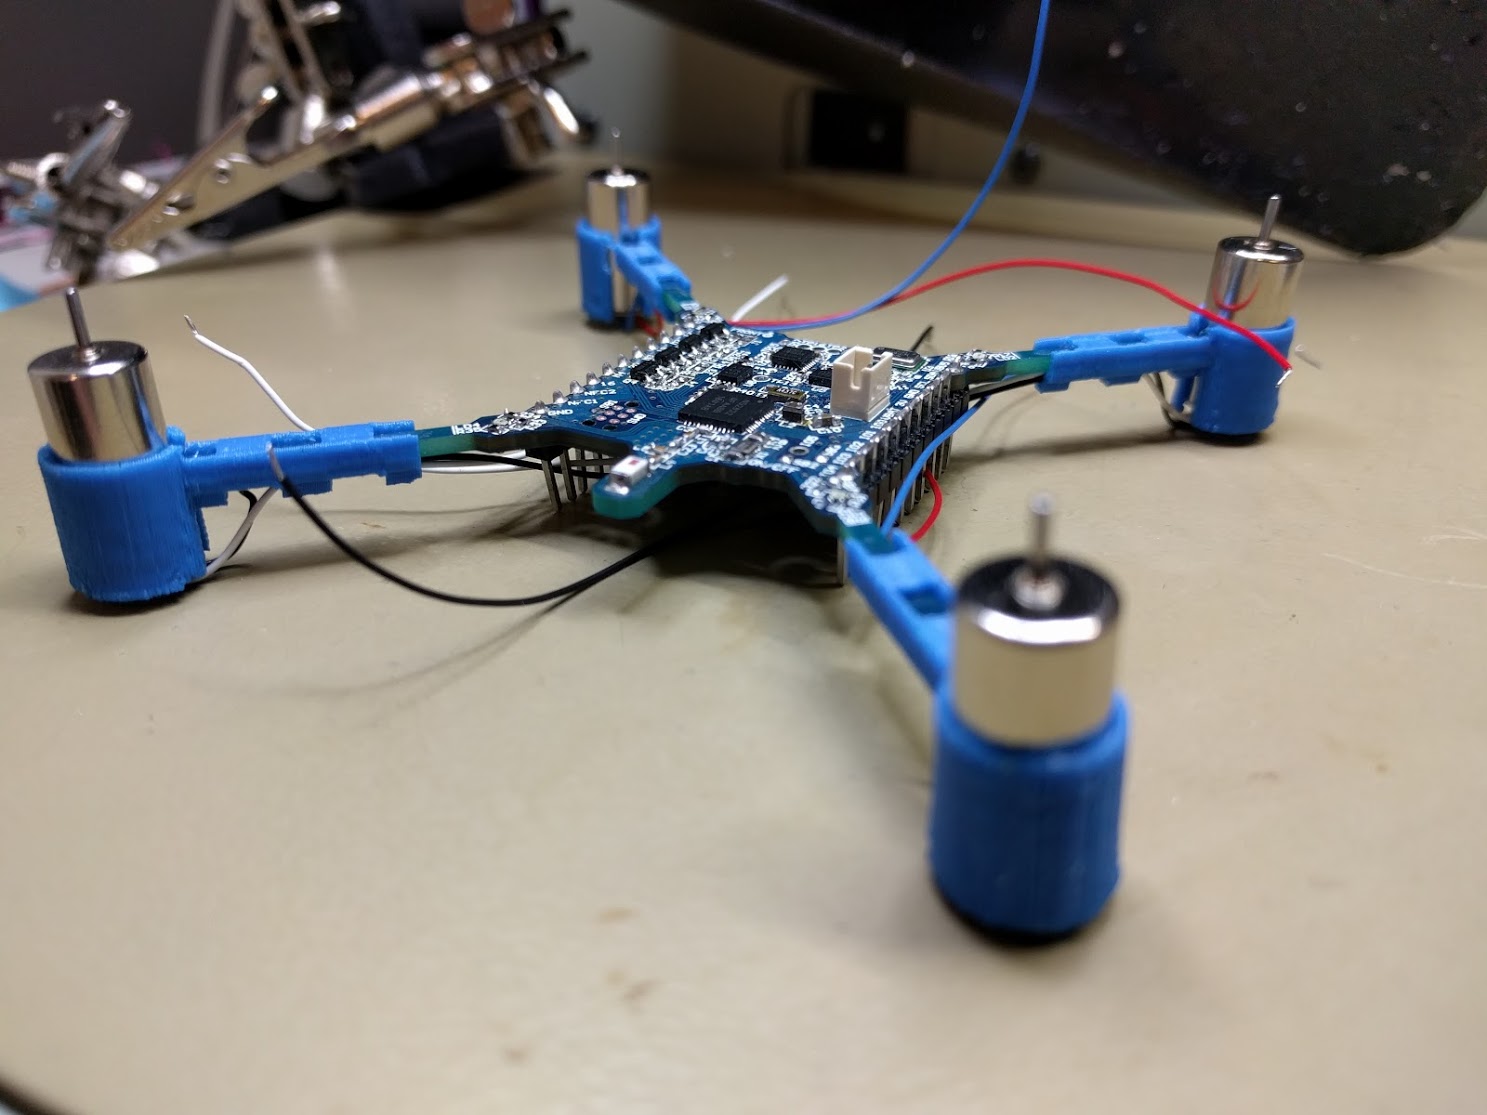
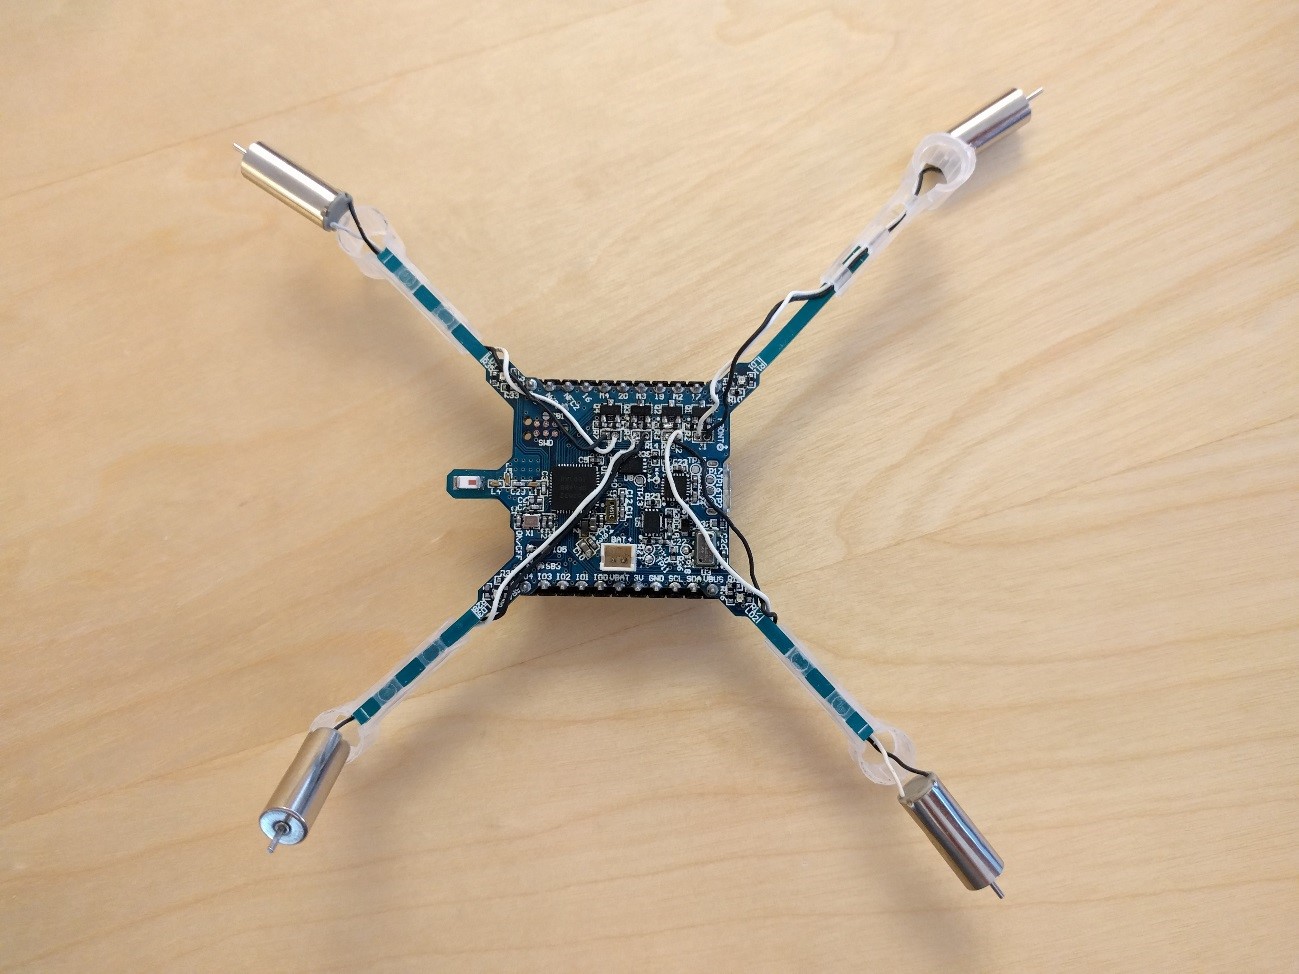
The nRF52 Quadcopter is a small miniquad that utilizes the nRF52 as both flight controller and for radio communication. The quadcopter uses the Physical Web and Web Bluetooth to make it as easy as possible for anyone to fly it. This is an open source project, and the source files are available here. See it in action here.

In most miniquads there is often used two or several dedicated chips which cooperates to make the whole quadcopter system work. Usually you have one main chip which controls the quad and keeps it stable in the air, and one chip which maintains communication through radio.
Thanks to the power of the nRF52, we can use only one chip for both control and communication. This single chip solution simplifies the electronic layout, and in turn will make the quadcopter both cheaper, and smaller if needed. The design and parts of the firmware is based on the Crazyflie quadcopter project by Bitcraze.
The Quadcopter
The quadcopter is a small PCB containing the nRF52 chip, one MPU-9250 inertial measurement unit, two barometers, one fuel gauge chip, a charger chip and 4 DC motors. Have a look at the schematics and PCB layoutand the bill of materials for more details.
The nRFQuadcopter uses hardware PWM to control the DC motors simultaneously. Each motor needs its own control signal, which is calculated through a control loop.

Control loop
The control loop is the most important part of the quadcopter, and its main task is to keep the copter in the air. Its secondary task is to make necessary changes in the quadcopters attitude based on the controllers input, and also halt any flight if anything goes wrong.
The simplified control loop algorithm is as such:
- Get raw accelerometer and gyrometer values from a dedicated inertial measurement unit (IMU).
- Calculate its angular value in a 3D-space based on the IMU-values.
- Make the necessary changes in the motor control signals to keep the quadcopter in the desired attitude.
A rule of thumb is that as long as a control loop is performed with a frequency of 50Hz, the quadcopter will fly somewhat. The faster the control loop is beyond 50Hz, the more stable it will be, but a control loop is really performance heavy and demands a lot of processing power.
The nRF52 is able to perform the control loop at a frequency of 1kHz while it also maintains Bluetooth communication, which is more than enough for stable flight.
Bluetooth communication
The nRFQuadcopter is controlled through BLE, where it uses its own custom service based on the UART service in the Nordic SDK 11. Here you are able to both control the craft and change the regulator parameters. More on this later in this post.
The Quadcopter is also Physical Web enabled, and broadcasts a webpage URL through the Eddystone protocol.
So what can the quadcopter actually do?
As of now, the quadcopter is able to the following tasks in real-time:
- The quadcopter is able to maintain stable flight.
- The quadcopter is controllable through its four actuator values; thrust, roll, pitch and yaw.
- A controller can remotely tune every regulator used in the control loop.
- The quadcopter will save the PID-values to flash.
- By using two barometers in a complementary filter, the quadcopter is able to hold its current altitude automatically.
- You can fly the quadcopter FPV (First Person View) with a pre-mounted camera.
- Through a surface mounted fuel gauge, you can both measure the current battery capacity and charge the LiPo-battery.
- The quadcopter advertises its presence through the Eddystone protocol.
- The control loop frequency is currently at 1kHz
Controlling the quadcopter
To control the quadcopters we use the Physical Web and the Web Bluetooth API.
Physical Web
We have implemented some of the functionality in the Physical Web in the quadcopter. The quadcopter acts as an Eddystone beacon advertising a URL to a web page from which it can be controlled. That way anyone close to the quadcopter with Physical Web enabled on their mobile device will see a notification inviting them to navigate to the control page for the quad and actually fly it without having to install a separate app for that purpose.
The website
The quadcopter is controlled with two joysticks and the pilot can adjust basic properties such as throttle, yaw, roll and pitch. The joysticks are made using the nippleJS library. This library makes it possible to add multiple joystick instances to the same webpage and registers touch events from them at the same time. On each touch event from the joysticks, the position of the joystick is registered, and from that the throttle, roll, pitch and yaw output is calculated.
In addition to the above mentioned basics, having a website as controller, gives us possibility to make a graphical interface to easily adjust many other preferences and settings for both the controller itself and the quadcopter. Here's what we have added for now:
- Enabling and disabling altitude hold mode
- Displaying battery level
- Yaw trim to counteract yaw drift
- Setting a band in the yaw joystick where yaw = 0 to make it easier to fly straight ahead
- Maximum roll and pitch angles
- Set the maximum yaw as a percentage of maximum
- Toggle controller mode between attitude and rate
- Calibrate the quadcopter
- Adjusting the PID parameters for all the control loops
The Web Bluetooth part
On every new touch event on the joysticks, the throttle, roll, pitch and yaw is calculated and the output values are stored in a 20 byte long Uint8Array. These values are then sent to the quadcopter using Web Bluetooth. If there's no already ongoing GATT operation, the array is sent right away. A GATT operation in our code typically takes a little more than 20ms, depending on the connection interval set in the firmware. This means that all touch events and updated joystick data during one GATT operation will be discarded and not sent. The only exception to this is if the joystick is released, and the user wants the quadcopter to stop. This action will get priority and will be sent as soon as the ongoing GATT operation is finished, and the quadcopter will stop its motors. When flying the quadcopters, it is not noticeable (at least to us) that some joystick position data is discarded.
When the mobile device connects to a quadcopter, it will receive the PID parameters stored in the quadcopter’s flash memory. The website can then be used to change and update these parameters using a GATT characteristic dedicated to quadcopter settings.
A working demo of the controllers can be found here and the source files are here. All feedback and suggestions for improvements are welcome.


