Introduction
This example shows a simple GPIO driver for seamless handling of the GPIO and GPIOTE peripherals of the nRF52 series. This example is particularly intended for developers who wish to develop their own driver. The code is available on GitHub at the following URL: https://github.com/NordicSemiconductor/nrf52-drv-gpio-example.
Keil GUI pointers
The figure below points out the important Keil GUI buttons for running this example.

Steps to run the example
Follow these steps to run the example:
-
Extract the 12.3.0 version of the SDK.
-
Enter the nRF5_SDK_12.3.0_d7731ad\examples\peripheral directory.
-
Clone the repo: git clone https://github.com/NordicSemiconductor/nrf52-drv-gpio-example.git
-
Enter the nRF5_SDK_12.3.0_d7731ad\examples\peripheral\nrf52-drv-gpio-example\pca10040\arm5_no_packs directory
-
Open the drv_gpio_example.uvprojx Keil project file.
-
Press the build button to build the project.
-
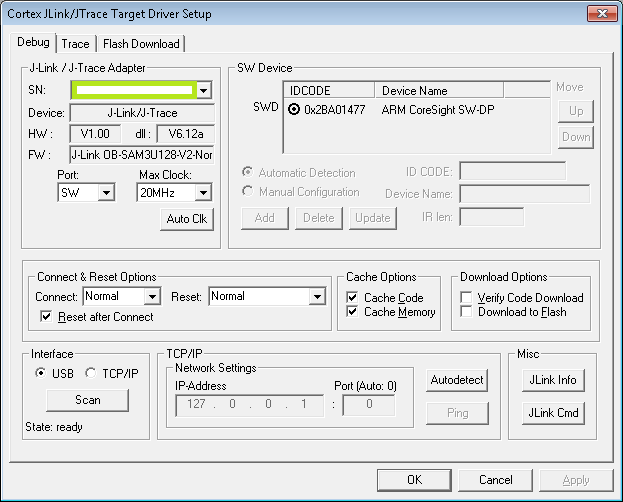
Select the debugger settings by pressing the Project Settings button followed by pressing the Settings button in the debug tab.

-
Press the LOAD button to program the board.
-
All four LEDs should now blink 4 times.
-
Press one button at a time to observe the behavior of the example.
-
Press all four buttons simultaneously to proceed to the next example.
-
Repeat from step 9 until the board does not respond to button presses anymore, which means the program has run to the end.
Descriptions
There is a description of each example placed as a comment in the drv_gpio_example.c source file before the particular example.


