Ever wondered how the nRF51822-based BBC Micro:bit first started to come to life?....Then read on....
Working with the BBC on micro:bit: Part 1 - using the mbed HDK For the last few months, we’ve been hard at work helping the BBC and its partners in the Make it Digital campaign turn the BBC micro:bit into an awesome reality. With the launch announcement today, we are now able to talk a lot more about the BBC micro:bit, mbed, and how together with its partners the BBC has built a working mbed Enabled board in just four months. We are used to having our heads stuck in the details of how to build embedded systems, but normally we are doing that in order to make fundamental building blocks so that other people can create mbed Enabled platforms quickly. This project has been different, though: as well as our usual role as mbed, we’ve stepped to the other side of the silkscreen and worked with the BBC and partners to build and test the early prototypes of the BBC micro:bit hardware.
This is the first of a series of blog posts about how the micro:bit was put together, how it was built and tested, and what we’ve learned by eating our own dog food and putting ourselves in our partners’ shoes. Part 1: Building the hardware – using the HDK and testing the early boards. Part 2: Bringing up the software and supporting Lancaster University in building the micro:bit runtime. Part 3: Development tools and the compile API.
BBC micro:bit is mbed Enabled
So how has mbed helped the BBC micro:bit project? Here’s a slide I presented at the first Hardware Working Group meeting as a proposal:
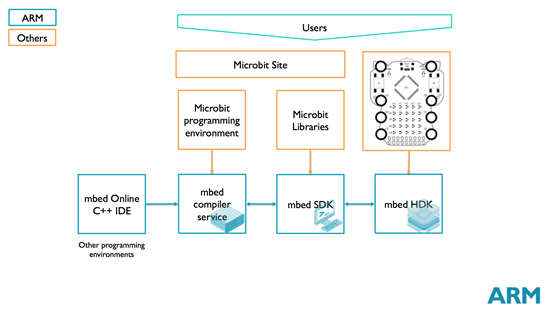
We thought that building micro:bit based on the mbed SDK and HDK would be great for the project; by using open source, deployed, tested components as a foundation, the idea of having something produced in enormous quantities within months of the ‘go’ date seemed less daunting.
Start with known working parts
One of the most time consuming parts of an embedded project can be the early “trust nothing” stage: when you can’t be sure whether your tools, your design, your test system or your own sanity is the reason something doesn’t work. By basing the BBC micro:bit on the mbed HDK it was possible for the other groups in the project to start working and testing with other (known good!) mbed Enabled boards, knowing that they would be able to switch over to the micro:bit when it was ready. Given the aggressive schedule, the partners working on the programming environments and smartphone apps needed something to work with while the boards were being designed and made. On the hardware side, the BBC had done extensive trials in schools with earlier hardware that had LED matrices, and they knew they wanted to keep that feature – would we be able to drive all the LEDs directly from the nRF51822 without needing extra drivers? Could we scan the matrix fast enough and have the image look clear? Would the BLE radio interrupts give visual glitches on the ‘display’? For a quick answer, Lawrence (from upBeat Product Development) made some nice LED matrix boards, and we plugged them into a Nordic NRF51822 development kit, which uses the same chip as the micro:bit, and is a very similar board.
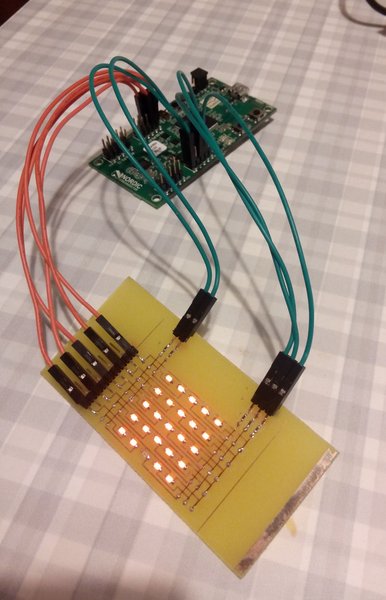
It works!
Layout the HDK, any size will do
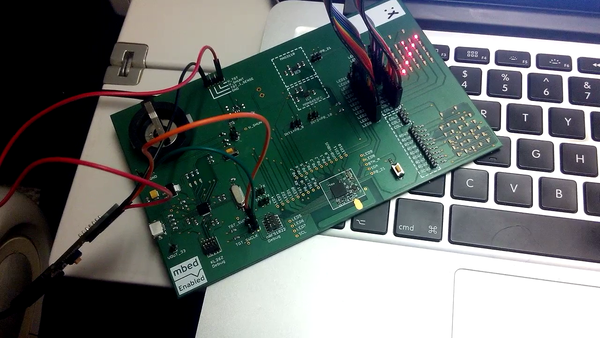
The next step was to take the HDK, add the micro:bit specific components and lay it out on a board with the LEDs so we could test in earnest. Chris, dusting off his Eagle gloves, took on this task. The resultant board, called ‘the square board’, had a run of 10, was not at all square, and didn’t work out of the box. Luckily, Marcelo is good with his soldering iron; in the picture below you can see the workaround for selecting the wrong USB connector part: desolder it and put the cables directly onto the board! This kind of mistake is easy to make when you’re picking up a new part or design, and it’s led us to think about how much we can provide alongside the HDKs - we’ve got some exciting plans to announce soon.
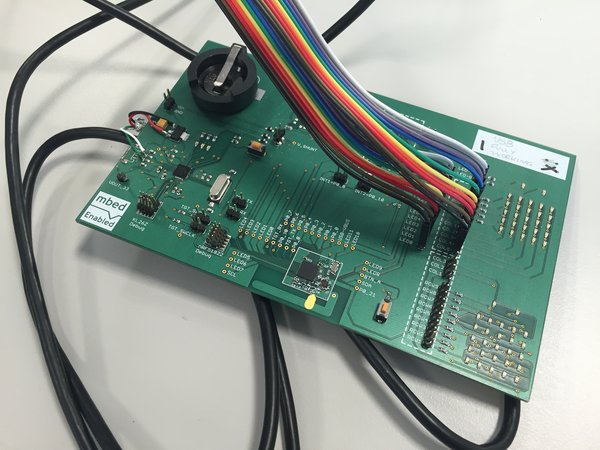
The ‘square board’ was also the first place we tried driving the LED matrix with animations. Yes, that’s on a plane…
Form factor prototypes and reducing the number of components
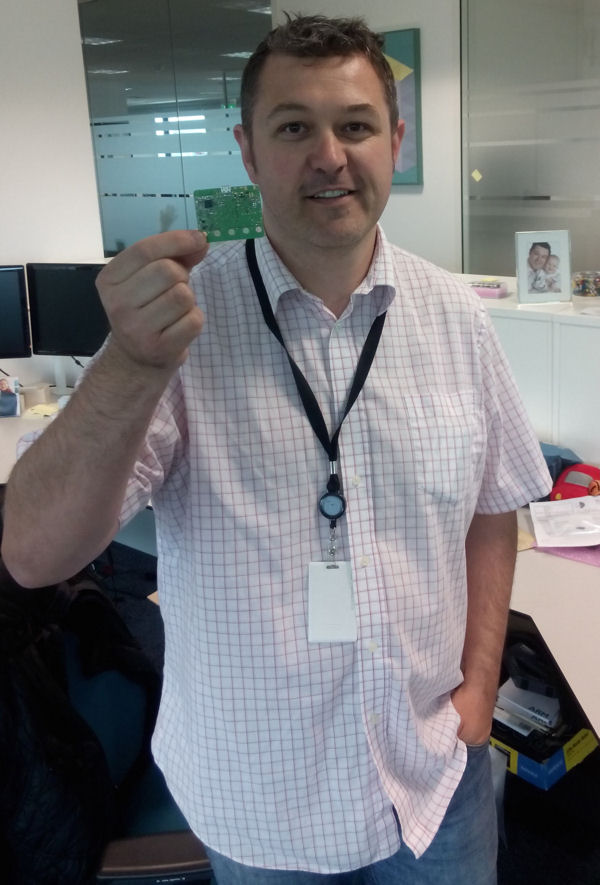
As the project progressed, it became clear we needed some form factor prototypes. This is the kind of task we’re usually one step removed from, but given the need for a quick turnaround, and the fact that Chris had already done the layout for ‘the square board’, he was the natural choice for ‘square board two’ (which I can report is also not square…). There are a few neat tricks in the micro:bit to save cost, such as using the on-chip regulator of the KL26 to regulate USB 5V to 3.3 for the Nordic chip. While I’m sure mbed users deploying the HDK regularly use these techniques, it’s been great seeing them up close, and that’s given us a chance to factor them back into the sources, hopefully saving our downstream developers time, money, and hassle. We also needed to check that the layout for the board could be done in the size desired, on a two-layer board. Here’s Chris, proudly holding the first ‘SB2’ that came back from the board house. Answer: yes, it fits! I owe Chris at least one beer.
Sadly, as we’d spent a lot of the time with the first square board debugging the USB issues, we didn’t yet have a working port of the interface firmware. This meant that the new SB2 wasn’t easy to program. We were posting boards around to partners in the project, and we needed a way to program them…
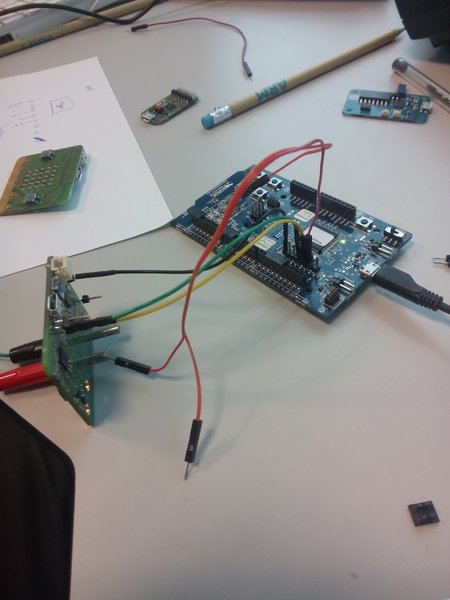
Luckily, it’s possible to use the Nordic –DK board as an external programmer for another nrf51. The experience is just like using mbed normally, but there’s not much documentation around this on mbed. We wanted to make the information available to other mbed developers – it’s a useful trick, and again, the kind of thing we don’t necessarily encounter day to day. The page here was our way of getting the useful information out, without tipping anyone off that BBC micro:bit was on its way. On the plus side, if you manage to brick your beacons, it’ll help you out, too. The SB2 design is what we’ve handed over to Farnell for them to start the process of taking the board to manufacture in volume. Meanwhile, our focus has shifted to getting involved in the software work, porting the mbed SDK to the micro:bit board, and supporting the other partners building tools on top of the SDK; I’ll write much more about that in the second installment of this series of blog posts. The BBC is doing something ambitious and ground-breaking by giving away a micro:bit to every year 7 pupil in the country, and it’s a privilege to be involved. We can’t wait to see what people start building with their micro:bits! Below are some other photos from the hardware design stages that we hope might be of interest.
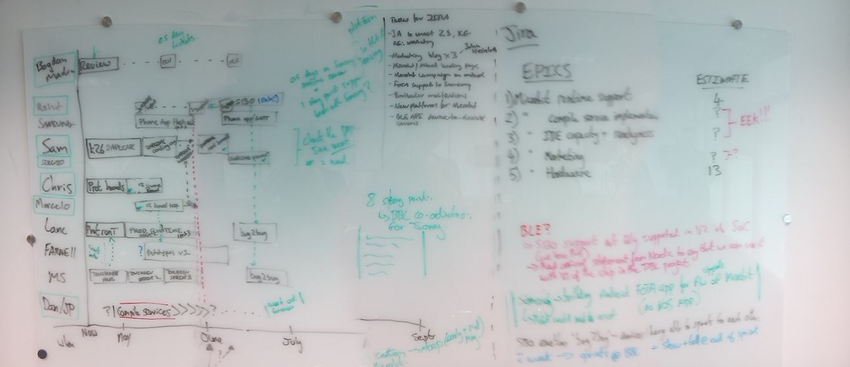
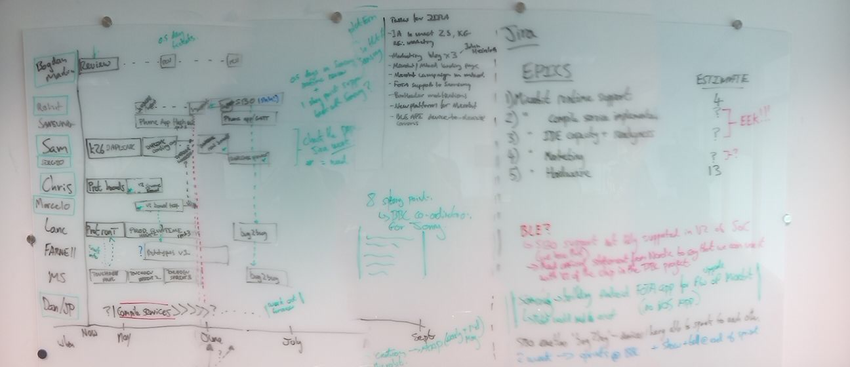
One of the early planning sessions for our involvement in the BBC micro:bit project. Notice the ‘EEK’ on the right hand side
Don’t get your wires crossed! (Also, don’t draw diagrams like this. Top pin, top label; bottom pin, bottom label.)
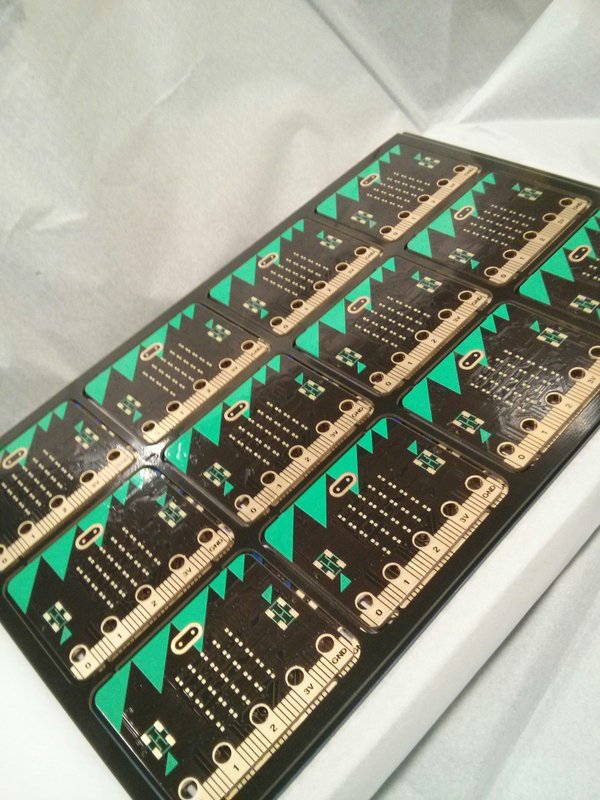
Boards, yet to be populated. These were the first boards with the excellent design from Technology Will Save Us. Colours are not final.
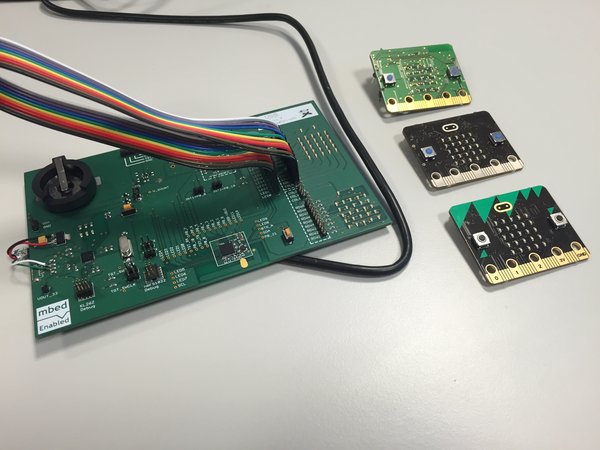
Four generations of BBC micro:bit prototype, ready to do something amazing.
Original blog posted on blog.mbed.com


