This post is older than 2 years and might not be relevant anymore
More Info: Consider searching for newer posts

How to Load SoftDevice to Custom nRF52 Board

We have a custom PCB with the nRF52 MCU.

Our application uses BLE. Thus, we need to program first the SoftDevice. In our case, we are using nRFgo Studio.

Normally, when I load the softdevice using the nRF52 Development Kit, it will be detected by nRFgo studio by the Segger Serial Number. Then go to Program Softdevice tab, etc.

But when I connect our custom PCB with the nRF52 Development Kit via P19 (Debug Out), I cannot seem click the Segger with Serial Number so I can proceed with the loading of the Softdevice.

Also, when I measure VCC of the entire board, it measures 1.8V. Is this ok? I have read this thread: devzone.nordicsemi.com/.../

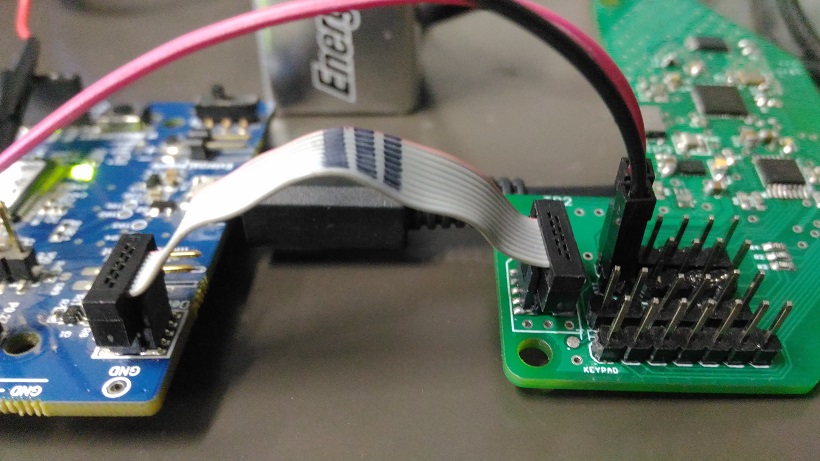
Please see images below for the hardware setup. Input Voltage: 9 VDC

image description

Also, I will be loading our hex file to the custom PCB board using the JLink MSD Interface.

Thank you.

  • 1.8V is too low. Is that the voltage on your custom board? Despite the comment that Stian makes that 1.8V worked in one case, many more people have reported that it doesn't. Can you power your custom board to to 3.0V or 3.3V without damaging it?

  • yes RK is right it needs to be between 3.0-3.5 volts to be able to power up the debug process. Have u tried externally powering ur module to 3.3v?? If ur using the arm-gcc cmd u can trigger the voltage by using mon tpwr enable that will give 3.3V to ur debug end. Hope this helps Cheers Nar

  • I have used Arduino uno to get 3.3V and fed it on my custom board. Now, I already have 3.3V on my custom. What should be the connections between my nRF52-DK and my custom board? Thanks

  • First make sure that the two boards have common ground, so you need a cable for GND (GND_DETECT). Then you need to power the custom board to around 3-3.5V, and use the VTG pin to sense the voltage. And you need to connect the SWDIO and SWDCLK for the SWD interface. You can have a look at the picture in this post (they are using the P20 header, but you can use the P19 header as well): devzone.nordicsemi.com/.../