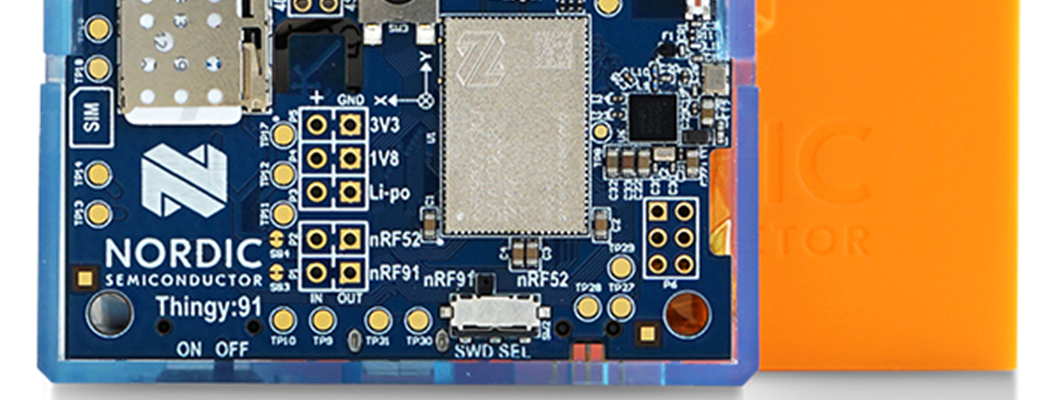
The nRF Connect Programmer application now also supports MCUboot! Follow these steps to update through the programmer application or the following guide for the command line alternative.
This guide shows you how to update your Nordic Thingy:91 application FW without having to use an external JLink programmer but instead using the Thingy:91 built-in MCUboot serial recovery mode using the mcumgr command line tool.
Nordic Thingy:91 ships with the asset tracker application running on the nRF9160 SiP and the usb_uart_bridge running on the nRF52840 SoC.
The following steps can also be used to compile and update all the other nRF9160 and nRF52840 compatible applications found in nRF Connect SDK.
Prerequisites
- Download, install and make sure Go Language (1.7 or later) is in your system path.
- Install
mcumgrcommand line tool by issuing the followinggo getcommand:
go get github.com/apache/mynewt-mcumgr-cli/mcumgr
- If compiling the code: Follow the nRF Connect SDK getting started guide to set up your system to be able to compile a compatible update binary.
Getting the FW
To get hold of the FW update binaries you could either download the FW package with pre-compiled binaries or compile your own. Pick one of the following methods.
Download pre-compiled binaries
Download and unzip the Thingy:91 FW package found under the download tab on the Thingy:91 product page. Make sure to download v0.2.3 or later.
The MCUboot compatible binary files we will use in the next steps are located here: thingy91fwvXXX\images_dfu\
thingy91_at_client_v0.2.3.bin           Firmware for direct modem communication
thingy91_ltem_v0.2.2.bin                Asset tracker firmware for nRF9160, LTE-M network mode
thingy91_nbiot_legacy_pco_v0.2.2.bin    Asset tracker firmware for nRF9160, NB-IoT network mode, legacy PCO
thingy91_nbiot_v0.2.2.bin               Asset tracker firmware for nRF9160, NB-IoT network mode
Compiling the source code
There are two compile targets of interest for Thingy:91 in nRF Connect SDK; thingy91_nrf9160ns should be used when compiling the application code for the nRF9160 SiP and thingy91_nrf52840 should be used when compiling the code for the on-board nRF52840 SoC.
The default applications on the Thingy:91 are asset_tracker for the nRF9160, and the connectivity_bridge for the nRF52840. These two applications can be built for the Thingy:91 without modifications by following the steps below. If you want to use a different application, you must also follow the steps in How to program any project to the Thingy:91 with DFU to make the application compatible with the bootloader on the Thingy:91.
Go into the desired application folder. In this case, compiling the asset tracker application for the thingy91_nrf9160ns target.
cd ncs\nrf\applications\asset_tracker
Make sure you have the latest version of NCS master by pulling the nrf repository by running git pull, then run west update to get the rest of the dependencies.
Compile the code using west:
west build -b thingy91_nrf9160ns
The MCUboot compatible binary file we will use in the next steps is located here: build\zephyr\app_update.bin
Updating FW
Before trying to update your Thingy:91 FW make sure it's connected to your computer using USB.
- Put your Thingy:91 into application serial recovery mode either by pushing the main button (SW3) while turning on power to update the nRF9160 SiP or the small button (SW4) while turning on power to update the nRF52840 SoC.
- Then update the FW by using the below
mcumgr image uploadcommand:
In the below commands change <image> to the desired binary file from the above “Getting the FW” steps and change <serial port> to the serial port the Thingy:91 is assigned when connected to your system. Format for <serial port> should be e.g. COM1 for Windows and something like /dev/ttyACM0 for Linux based systems.
mcumgr --conntype=serial --connstring=<serial port> image upload <image>
- Then start the application by running a reset:
mcumgr --conntype=serial --connstring=<serial port> reset


