This post is older than 2 years and might not be relevant anymore
More Info: Consider searching for newer posts
This discussion has been locked.
You can no longer post new replies to this discussion. If you have a question you can start a new discussion

UNABLE TO GENERATE PRIVATE KEY

Hi,

I am following a tutorial in order to learn the procedure for DFU OTA . I installed the nrfutil but still unable to generate the private key.

I have tried several commands like :

nrfutil.exe keys generate private.key

nrfutil.exe keys generate priv.pem

but it did not work

I think i am using the latest version . 5.0.0

I am getting such errors : TypeError: write() argument must be str, not bytes
NameError: name 'raw_input' is not defined

Please suggest.
Could I be in wrong directory while writing these commands ?
C:\Users\ArshdeepMalik>nrfutil.exe keys generate private.key

Thanks much!

  • Hi.

    Can you try to create a DFU packet and add a compiled self compiled version of the blinky project? And don't merge it with the SoftDevice.

    Do you get the error then?

    Best regards,

    Andreas

  • Hi Andreas

    I did try with bsp example to check if the issue is in softdevice but the error was same. 

    Thanks

    Arshdeep

  • Hi Arshdeep.

    Can you try to do it the following way:

    1) Program the bootloader found in the folder \examples\dfu\secure_bootloader\pca10056_ble_debug with the private key you generated.

    2) Compile the project found in the folder \examples\ble_peripheral\ble_app_blinky\pca10056.

    3) Take the .hex file from step 2 and generate the DFU packet with the private key from step 1.

    nrfutil pkg generate --hw-version 52 --application-version 1 --application ble_app_blinky_pca10056_s140.hex --sd-req 0xA9 --key-file private.pem app_dfu_package.zip

    4) Do a nrfjprog -e on the board to erase the pervious stored memory.

    5) Program the bootloader from step 1.

    6) Open nRF Connect Bluetooth Low Energy and try to do the DFU from your second board.

    Can you post some screenshots and log of the process? Does this work?

    Best regards,

    Andreas

  • Hi Andreas,

    1) Program the bootloader found in the folder\examples\dfu\secure_bootloader\pca10056_ble_debug with the private key you generated. : You mean public_key.c right ??? and not the private key . 

    5) Program the bootloader from step 1. : Program the bootloader again? I did not understand this . should I program the bootloader in the second board ? 

    6) Open nRF Connect Bluetooth Low Energy and try to do the DFU from your second board. How to do the DFU using the second board ? I do not know. Do you have any link where i can learn how to do DFU using second board. 

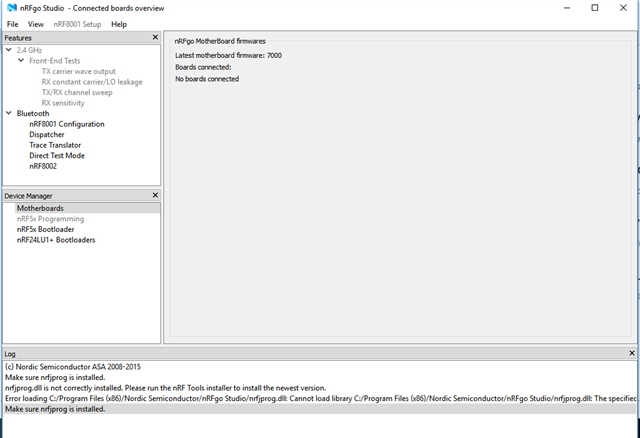
    Also, my nrfGo studio is not able to detect boards :

    It used to work fine in past. I tried uninstalling and installing it again. Did not work. Does this give any clues for DFU ?

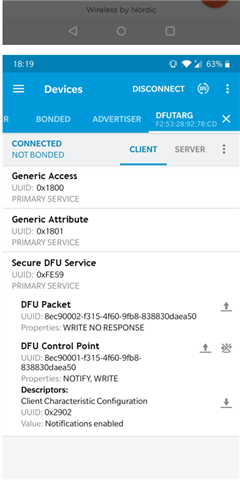
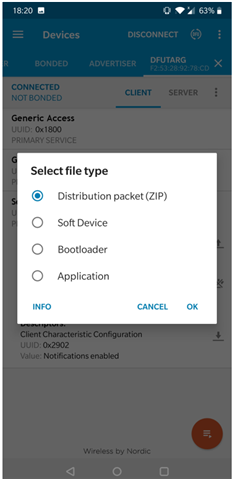
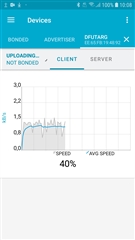
    Also please check the steps that i do when connected through nrfConnect app:

  • Hi.

    Sorry about the confusion, I wrote wrong in step one, i should have been "build", and then you could program it later.

    If you use your phone, then you don't need a second board, I thought that you had two boards, sorry about that.

    nRFgoStudio is outdated, so you should not use that. You should use nRF Connect for Desktop and the nRF Connect Programmer Application.

    I did the procedure with my mobile phone now, and it succeeded.

    I built the bootloader with the private key and programmed it onto the board.

    I then built the blinky application.

    I then created the DFU packet with the command in my previous reply.

    And then I did as you show in your pictures and selected the zip file I generated.

    When I finished, the board resets and LED 1 is on.

    Does this happen with your board?

    Best regards,

    Andreas

Related