Hi,
I trouble the support team for quite a few months now with NRF5 and I am now trying to get started with the up to date SDK and hopefully being able to get along with matter functionnalities.
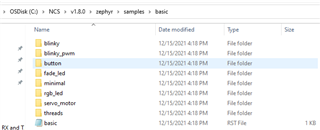
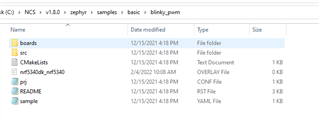
I am using the SDK on VS Code and I find it a bit troubling how things works with Zephyr. I started on a standard blinky but I can't find any examples using Zephyr for a PWM or interrupt based events. So far my attempts at getting along the new SDK was applying changes in the zephyr.dts file :
pwm0: pwm@4001c000 {
compatible = "nordic,nrf-pwm";
reg = < 0x4001c000 0x1000 >;
interrupts = < 0x1c 0x1 >;
status = "okay";
label = "PWM_0";
#pwm-cells = < 0x1 >;
ch0-pin = < 14 >;
ch0-inverted;
ch1-pin = < 15 >;
ch1-inverted;
ch2-pin = < 16 >;
ch3-inverted;
phandle = < 0x5 >;
};
........................
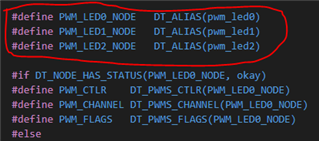
pwmleds {
compatible = "pwm-leds";
pwm_led0: pwm_led_0 {
pwms = < &pwm0 14 >;
label = "Voyant Rouge";
};
pwm_led1: pwm_led_1 {
pwms = < &pwm0 15 >;
label = "Voyant Vert";
};
pwm_led2: pwm_led_2 {
pwms = < &pwm0 16 >;
label = "Voyant Bleu";
};
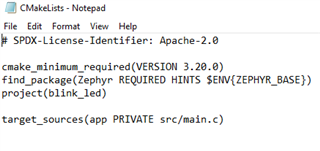
};I am then very concerned about the way to proceed, the blink exemple seems to use deprecated GPIO definitions (device_get_binding()) and I am not able to set up anything easily.
I hope you can make my way into this easier.
Best Regards,
Charles